BlenderでPythonを記述する方法
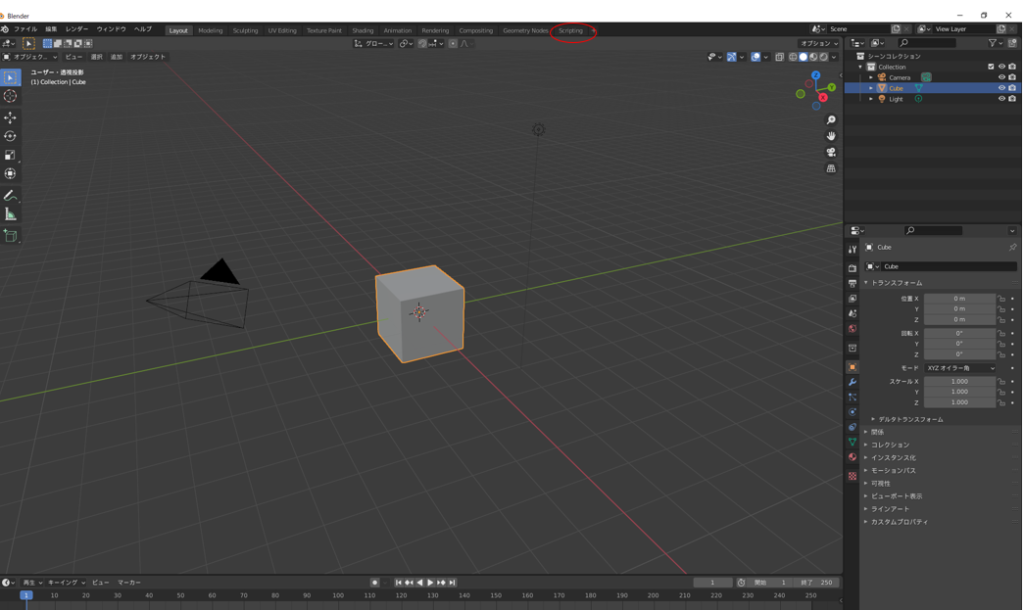
1)メニューバーの「Scripting」をクリックします
2)「+新規」をクリックします
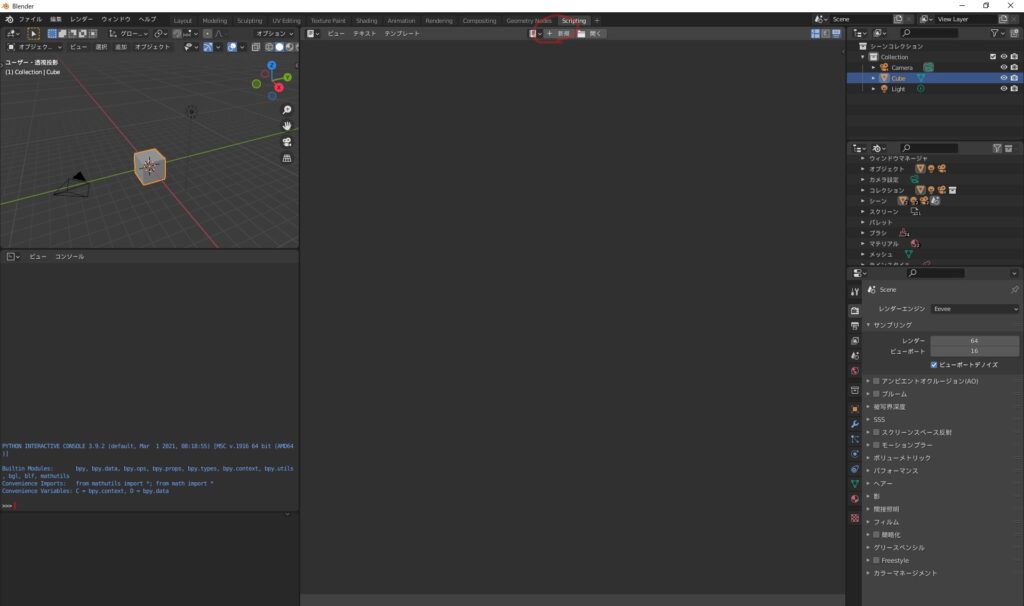
これで、「Blender」で「Python」を記述することができます。
Python Blenderでオブジェクトに写真を貼る方法
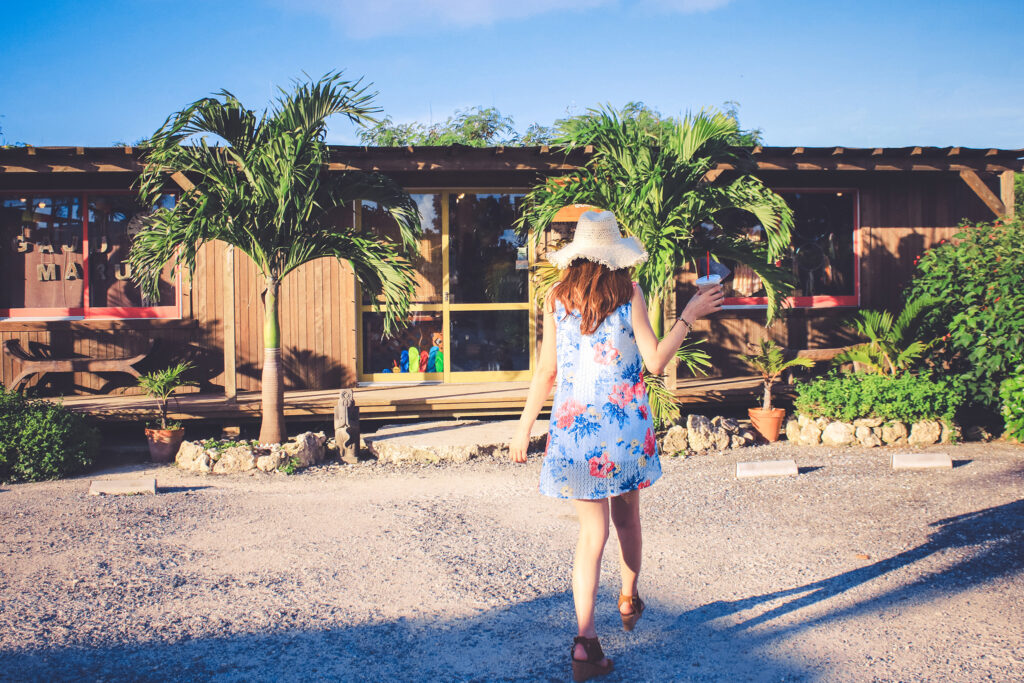
今回は↓の写真を「Blender」のオブジェクトに貼り付けてみます。
import bpy
import math

bpy.ops.object.select_all(action="SELECT")
bpy.ops.object.delete(True)

#光の設定
bpy.ops.object.light_add(
    type="SUN",
    location=(0,0,10),
    rotation=(0,0,0),
)
#カメラの設定
bpy.ops.object.camera_add(
    location=(5,0,80),
    rotation=(0,0,0),
)

#後ろの白いオブジェクト
bpy.ops.mesh.primitive_plane_add(
    location=(5,0,0),
)
bpy.ops.transform.resize(value=(25,10,1))
material = bpy.data.materials.new('Color') #材質データの作成
material.diffuse_color=(1,1,1,1) #材質データの色(引数で受け取った値)
bpy.context.object.data.materials.append(material) #材質の反映

#左の写真を張り付けたオブジェクト
bpy.ops.mesh.primitive_plane_add(
    location=(-10,0,1)
)
bpy.ops.transform.resize(value=(4,4,1))
material = bpy.data.materials.new('Color')
material.use_nodes=True
pic=material.node_tree.nodes["Principled BSDF"]
texImage=material.node_tree.nodes.new('ShaderNodeTexImage')
texImage.image=bpy.data.images.load("----表示したい画像のパス----")#PCによって違う
material.node_tree.links.new(pic.inputs['Base Color'], texImage.outputs['Color'])
bpy.context.object.data.materials.append(material) #材質の反映

#右の写真を張り付けたオブジェクト
bpy.ops.mesh.primitive_plane_add(
    location=(15,0,1)
)
bpy.ops.transform.resize(value=(2.048*5,1.365*5,1))#画像の縦横のサイズに合わせてサイズを変更
material = bpy.data.materials.new('Color')
material.use_nodes=True
pic=material.node_tree.nodes["Principled BSDF"]
texImage=material.node_tree.nodes.new('ShaderNodeTexImage')
texImage.image=bpy.data.images.load("C:\\Users\\gyome\\画像・写真\\サンプル.jpg")#表示したい画像のパス
material.node_tree.links.new(pic.inputs['Base Color'], texImage.outputs['Color'])
bpy.context.object.data.materials.append(material) #材質の反映
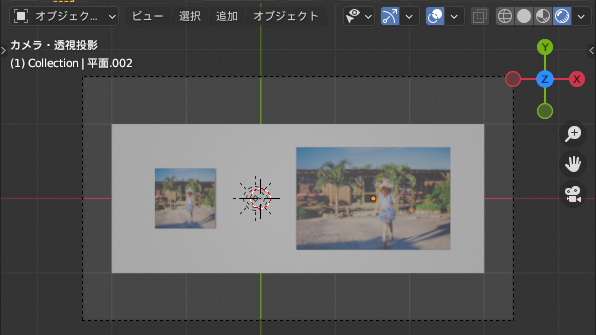
このプログラムを「Blender」で実行すると↓のようになります。
※ここで注意点ですが、実行した場合下の写真の右上の〇と同じものを選択してください。
レンダリング実行時と同じように、オブジェクトが表示されるこのモードでないと写真は見ることができません。(左から4番目の〇です。)

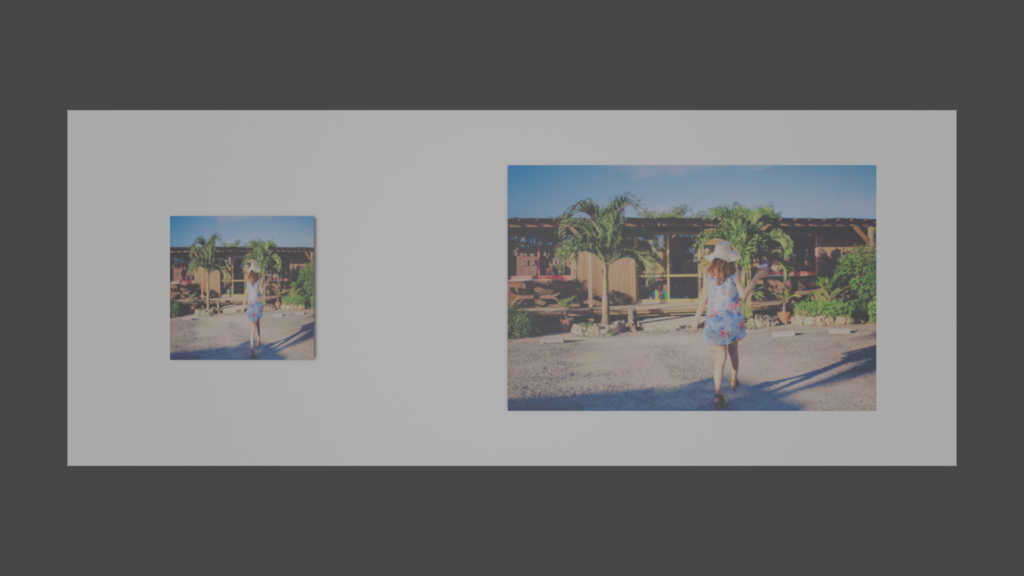
左のオブジェクトと右のオブジェクトを見比べてみてください。
左のオブジェクトは、正方形のオブジェクトに写真が貼り付けてあるので、元の写真とサイズ感が違います。
一方、右のオブジェクトは元の写真のサイズに対応して縦横のサイズを変更したため、元の写真のサイズ感でオブジェクトが作成されています。
元の写真のサイズ感にする方法
右のオブジェクトのように元の写真のサイズ感にして貼り付けたいと考えると思います。
それを実現する方法を解説していきます。
一結論、元の写真の縦のサイズ、横のサイズと同じ比率にする
「Blender」では、平面(plane)をつくるとデフォルトで正方形の平面になります。
このオブジェクトの縦横比率を元の写真の縦横比率と同様にしてあげればよいのです。
今回の写真のサイズは、
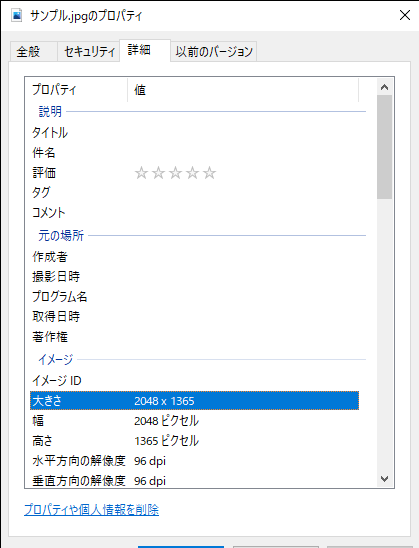
縦が2048ピクセル、横が1365ピクセルとなっています。
なので、この画像を「Blender」のオブジェクトに貼り付ける場合は、オブジェクトの縦横の比率を2048:1365のサイズのオブジェクトに貼り付ければよいことになります。
縦横の比率が同じであれば良いので、2.048×1.365でも良いし、(2.048×5)×(1.365×5)でも良いです。
コメント